


Looking for Kuhns MFG?
We’ve rebranded as Norden MFG! Same ownership, same great products, brand new name.
A well-maintained driveway not only adds to your property’s curb appeal but also ensures a smooth ride for vehicles and proper drainage during rainy seasons. One key tool that can help achieve this is a crowning driveway grader. This handy equipment allows you to smooth the surface of your driveway and create a slight slope that encourages efficient water runoff. Proper driveway drainage prevents development of potholes. In this blog post, we’ll explore how to grade a driveway effectively, using a crowning driveway grader, to create a smooth, water-draining driveway
7 Tips for Grading A Driveway
Choose the Right Equipment
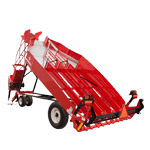
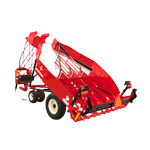
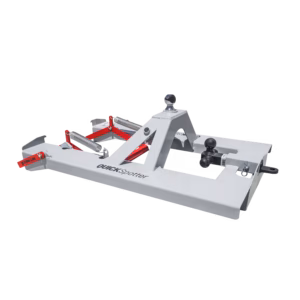
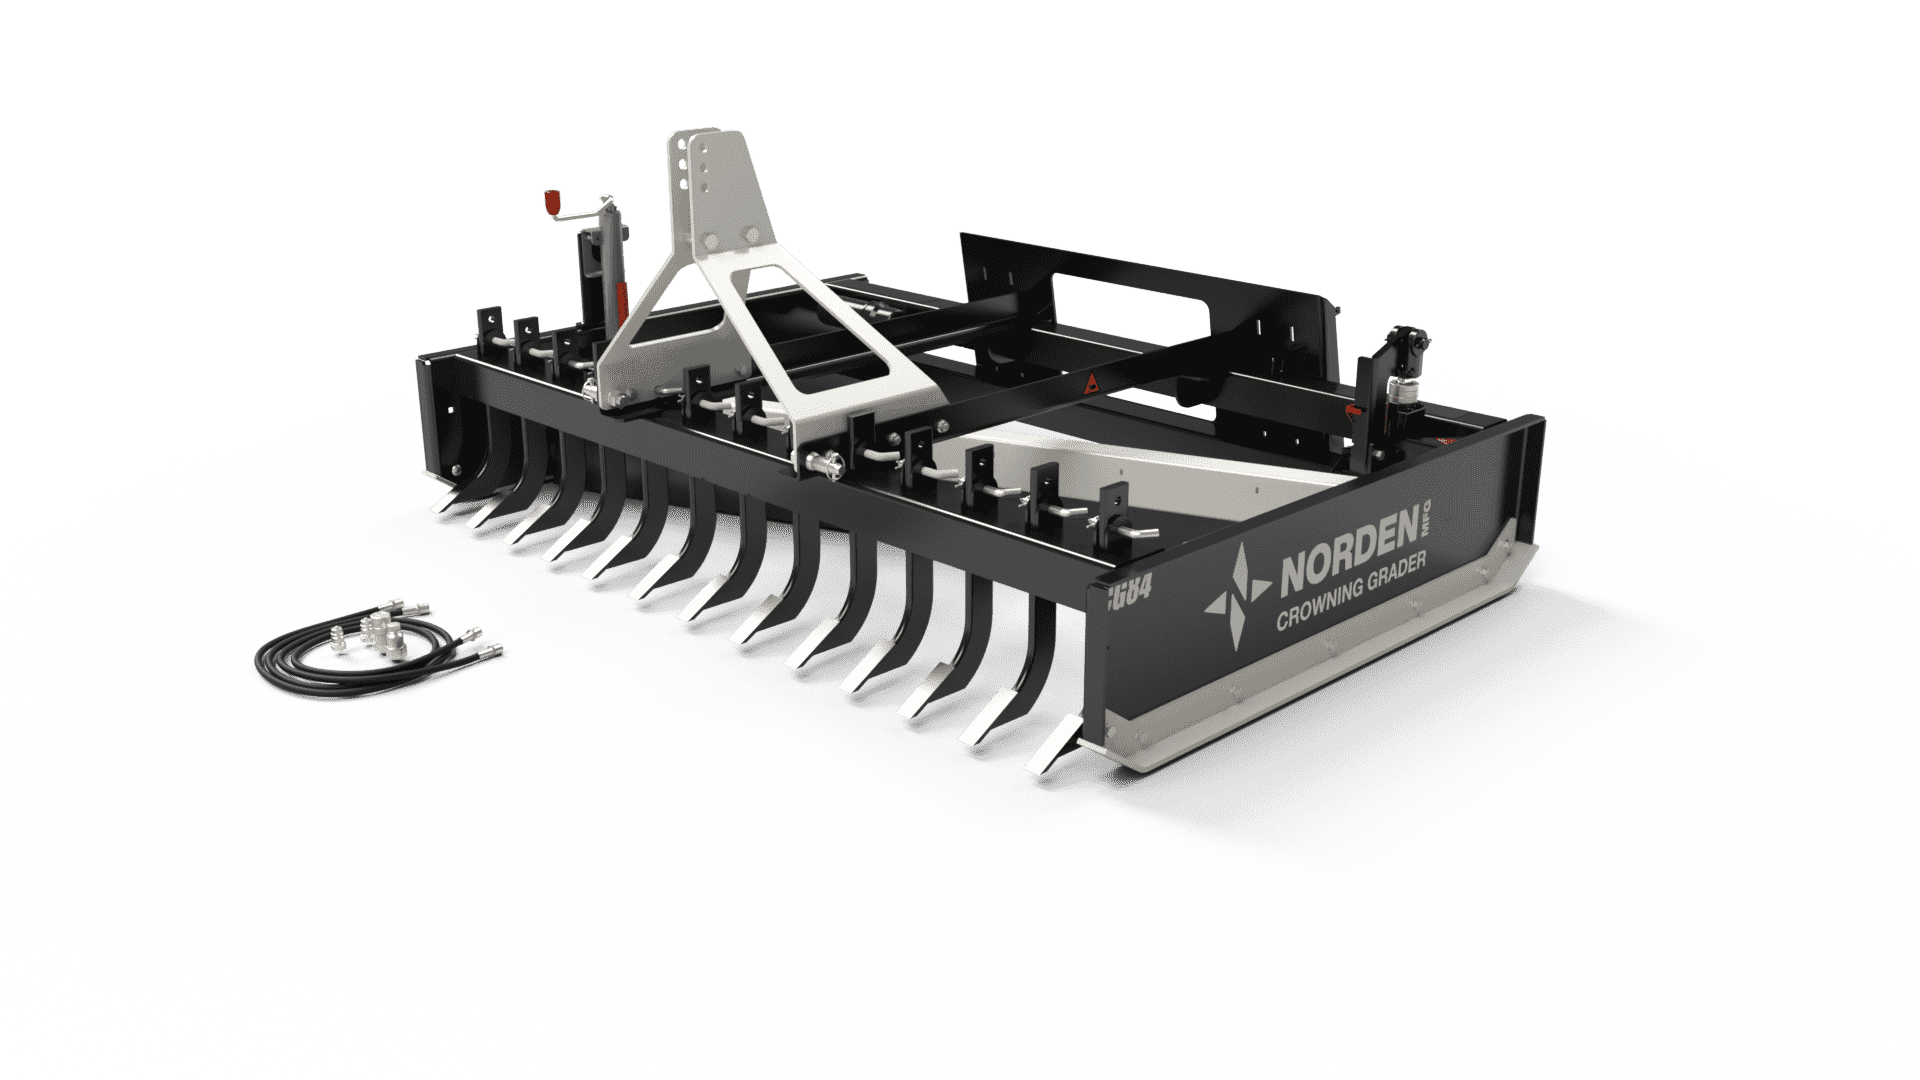
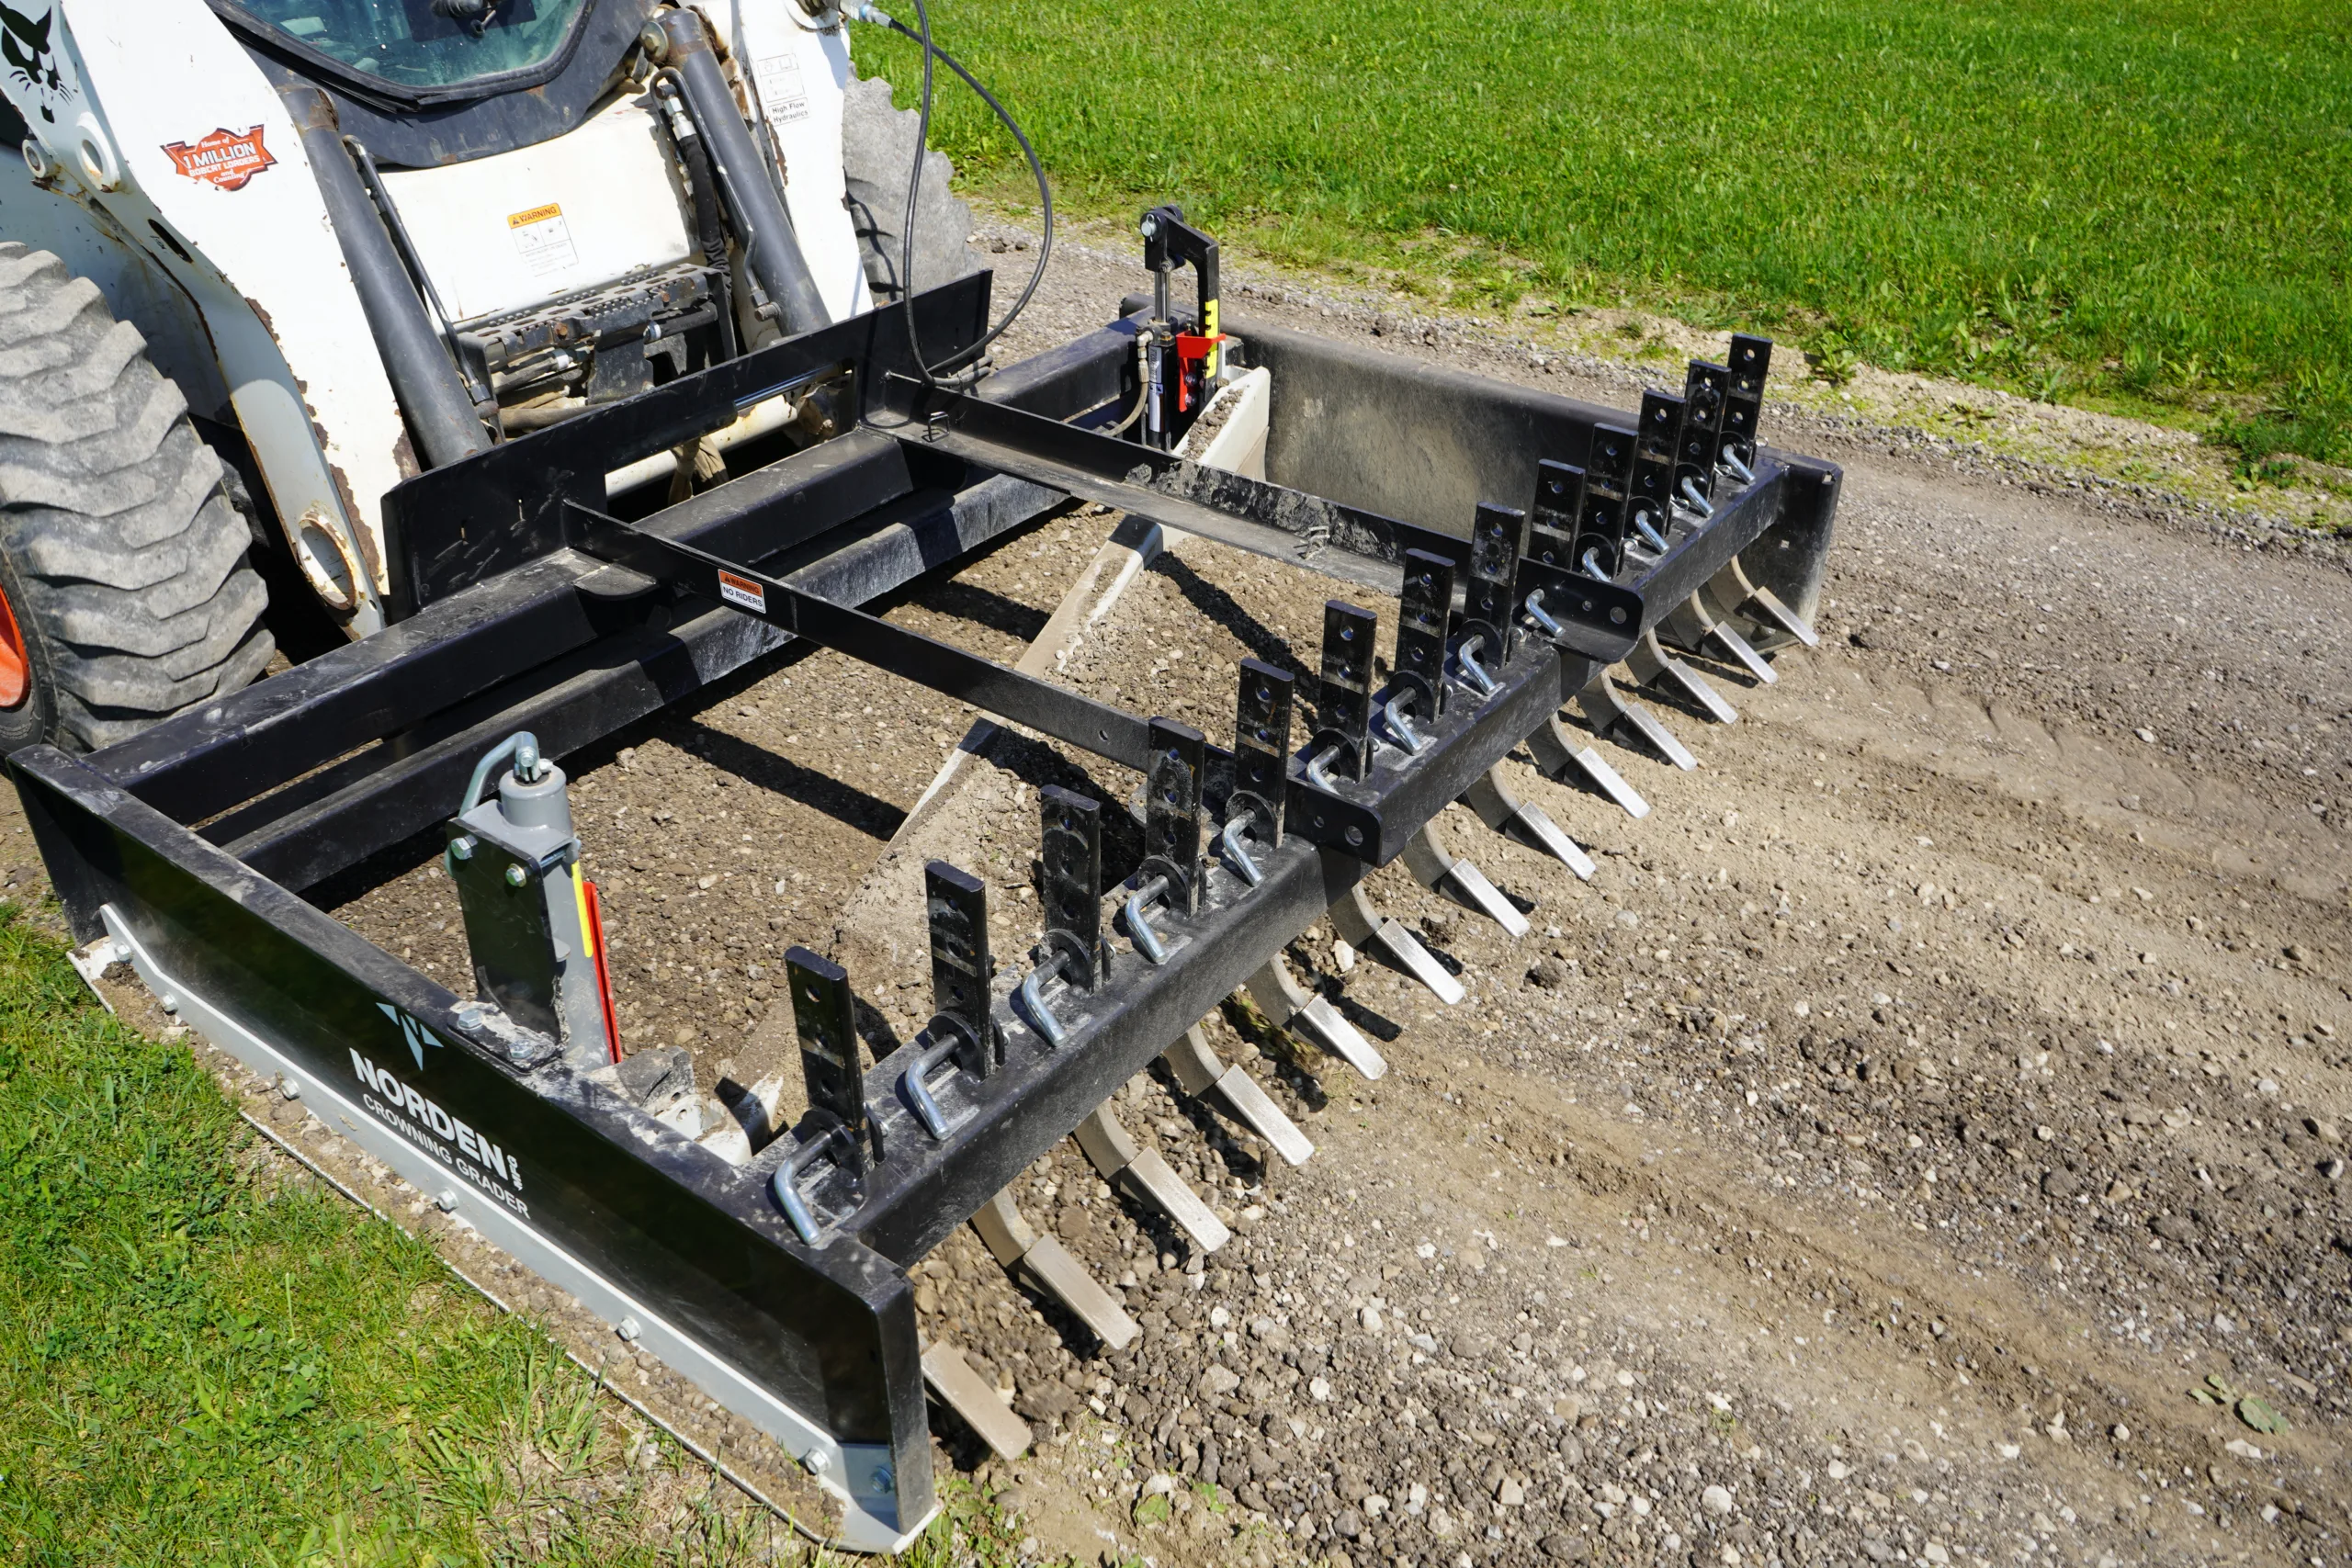
Before delving into the process, it’s important to select the right crowning driveway grader for your needs. You will need a grader that allows vertical adjustment of the blade so that you can vary the thickness of the material you leave behind. A driveway grader with ripper teeth is desirable as you can use them to loosen material and save needing to purchase more gravel. Also, be sure to find a crowning grader that has the proper attachment type for your equipment.
Prepare the Driveway
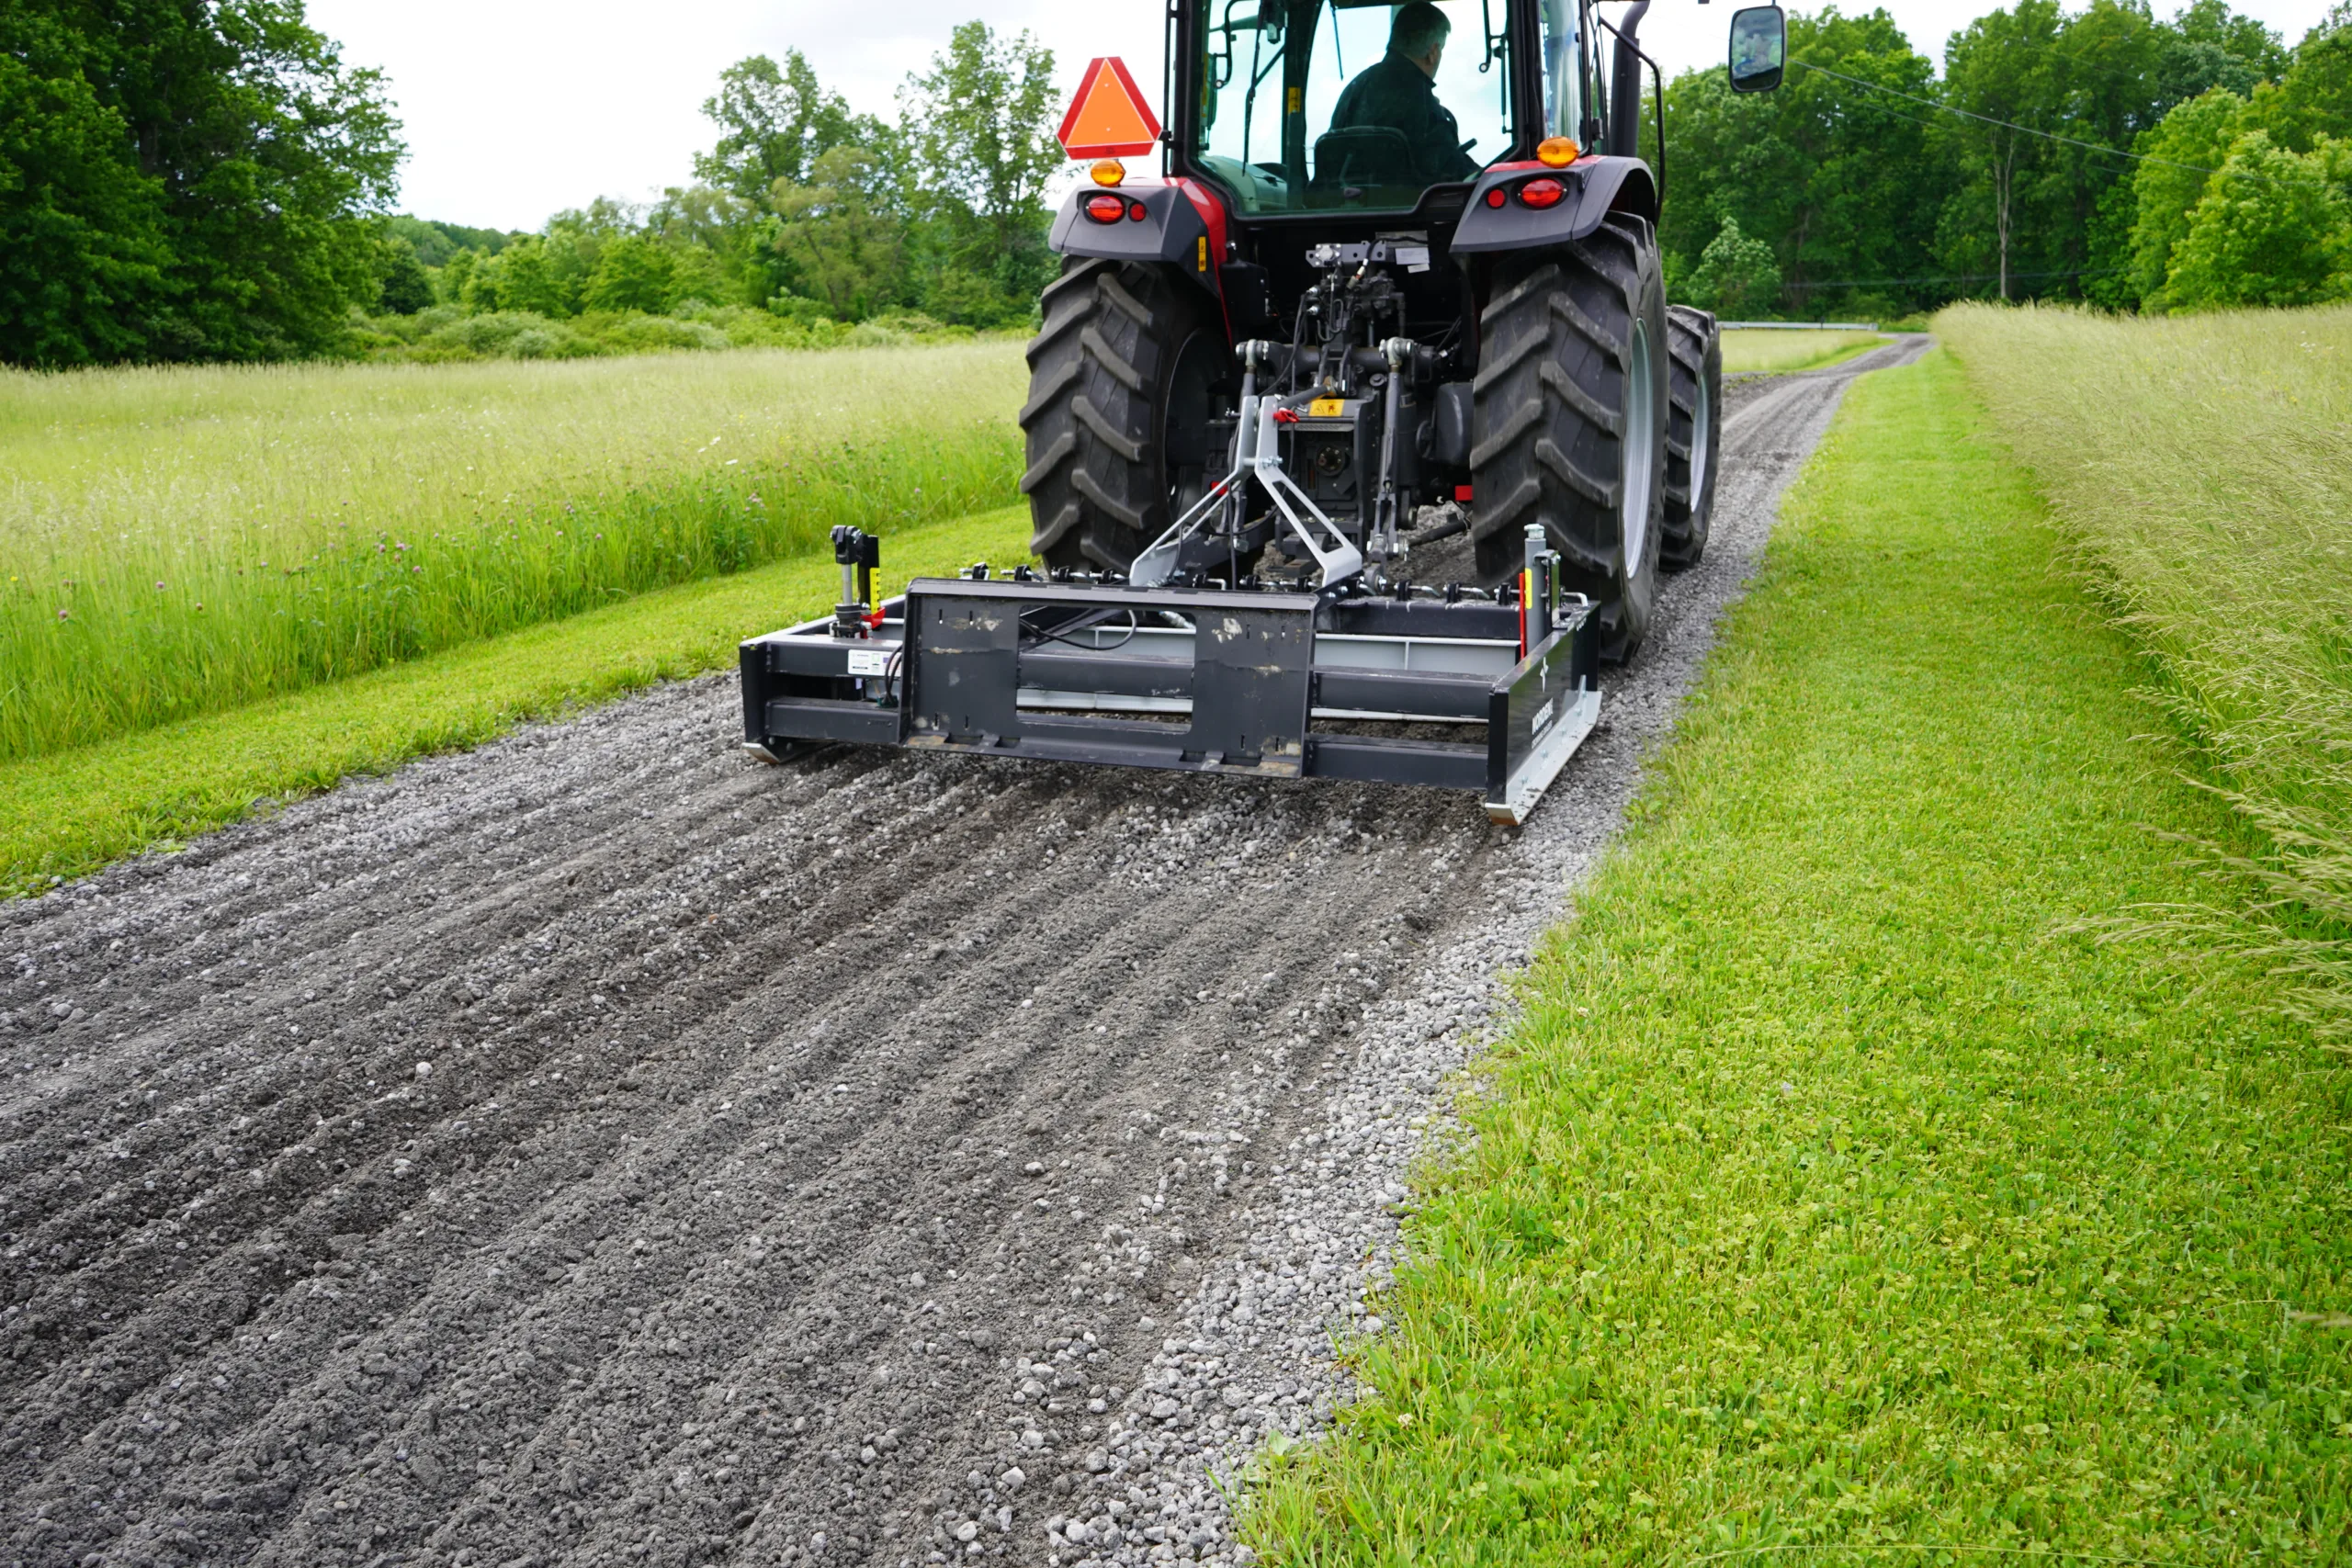
Start by loosening the surface material with the ripper teeth. Only disturb the top inch or two. It is important to disturb the bottom of the puddles and potholes so that material is integrated with the rest of the driveway material. If you have deep holes, you can drop several of the teeth and rip up the small, targeted area
Understand the Ideal Slope
The objective of crowning a driveway is to create a subtle slope that allows water to flow to the sides, preventing pooling and erosion. Aim for a gentle slope of about 1/2 inch per foot. This means that if your driveway is 20 feet wide, the center should be about 5 inches higher than the edges.
Grading Technique
Begin grading from the edges and work toward the center. This allows you to reclaim material from edges of the driveway. The grader’s blade should be adjusted to achieve the desired slope. Start at a slow speed to maintain control and make adjustments as needed.
Overlapping Passes
To ensure even grading, make overlapping passes with the grader. This will help avoid leaving any uneven spots or ridges. The goal is to create a smooth and consistent surface that allows water to flow seamlessly.
Pay Attention to Edges
While grading, pay special attention to the edges of the driveway. These areas are crucial for proper water drainage. Gradually blend the edges with the center to prevent abrupt changes in slope.
Finishing Touches
Once the initial grading is done, inspect the driveway for any irregularities. Make additional passes if needed to achieve the desired slope and smoothness. Backdragging with the grader will often leave a very smooth surface. Rolling the driveway after grading will settle the material and set it for maximum longevity.
Bonus Tip: Regular Maintenance
Achieving a perfectly crowned driveway is a job well done, but remember that maintenance is key to its longevity. Regularly inspect the driveway for any signs of erosion or unevenness. Address any issues promptly to prevent water from causing damage.
Using a crowning driveway grader to level and slope your driveway for effective water drainage is a skill worth mastering. A smooth, well-maintained driveway not only enhances the aesthetics of your property but also ensures a comfortable and safe driving experience. By following these tips, you can confidently create a perfectly crowned driveway that stands up to the challenges of weather and time.